
Star Trail Photography
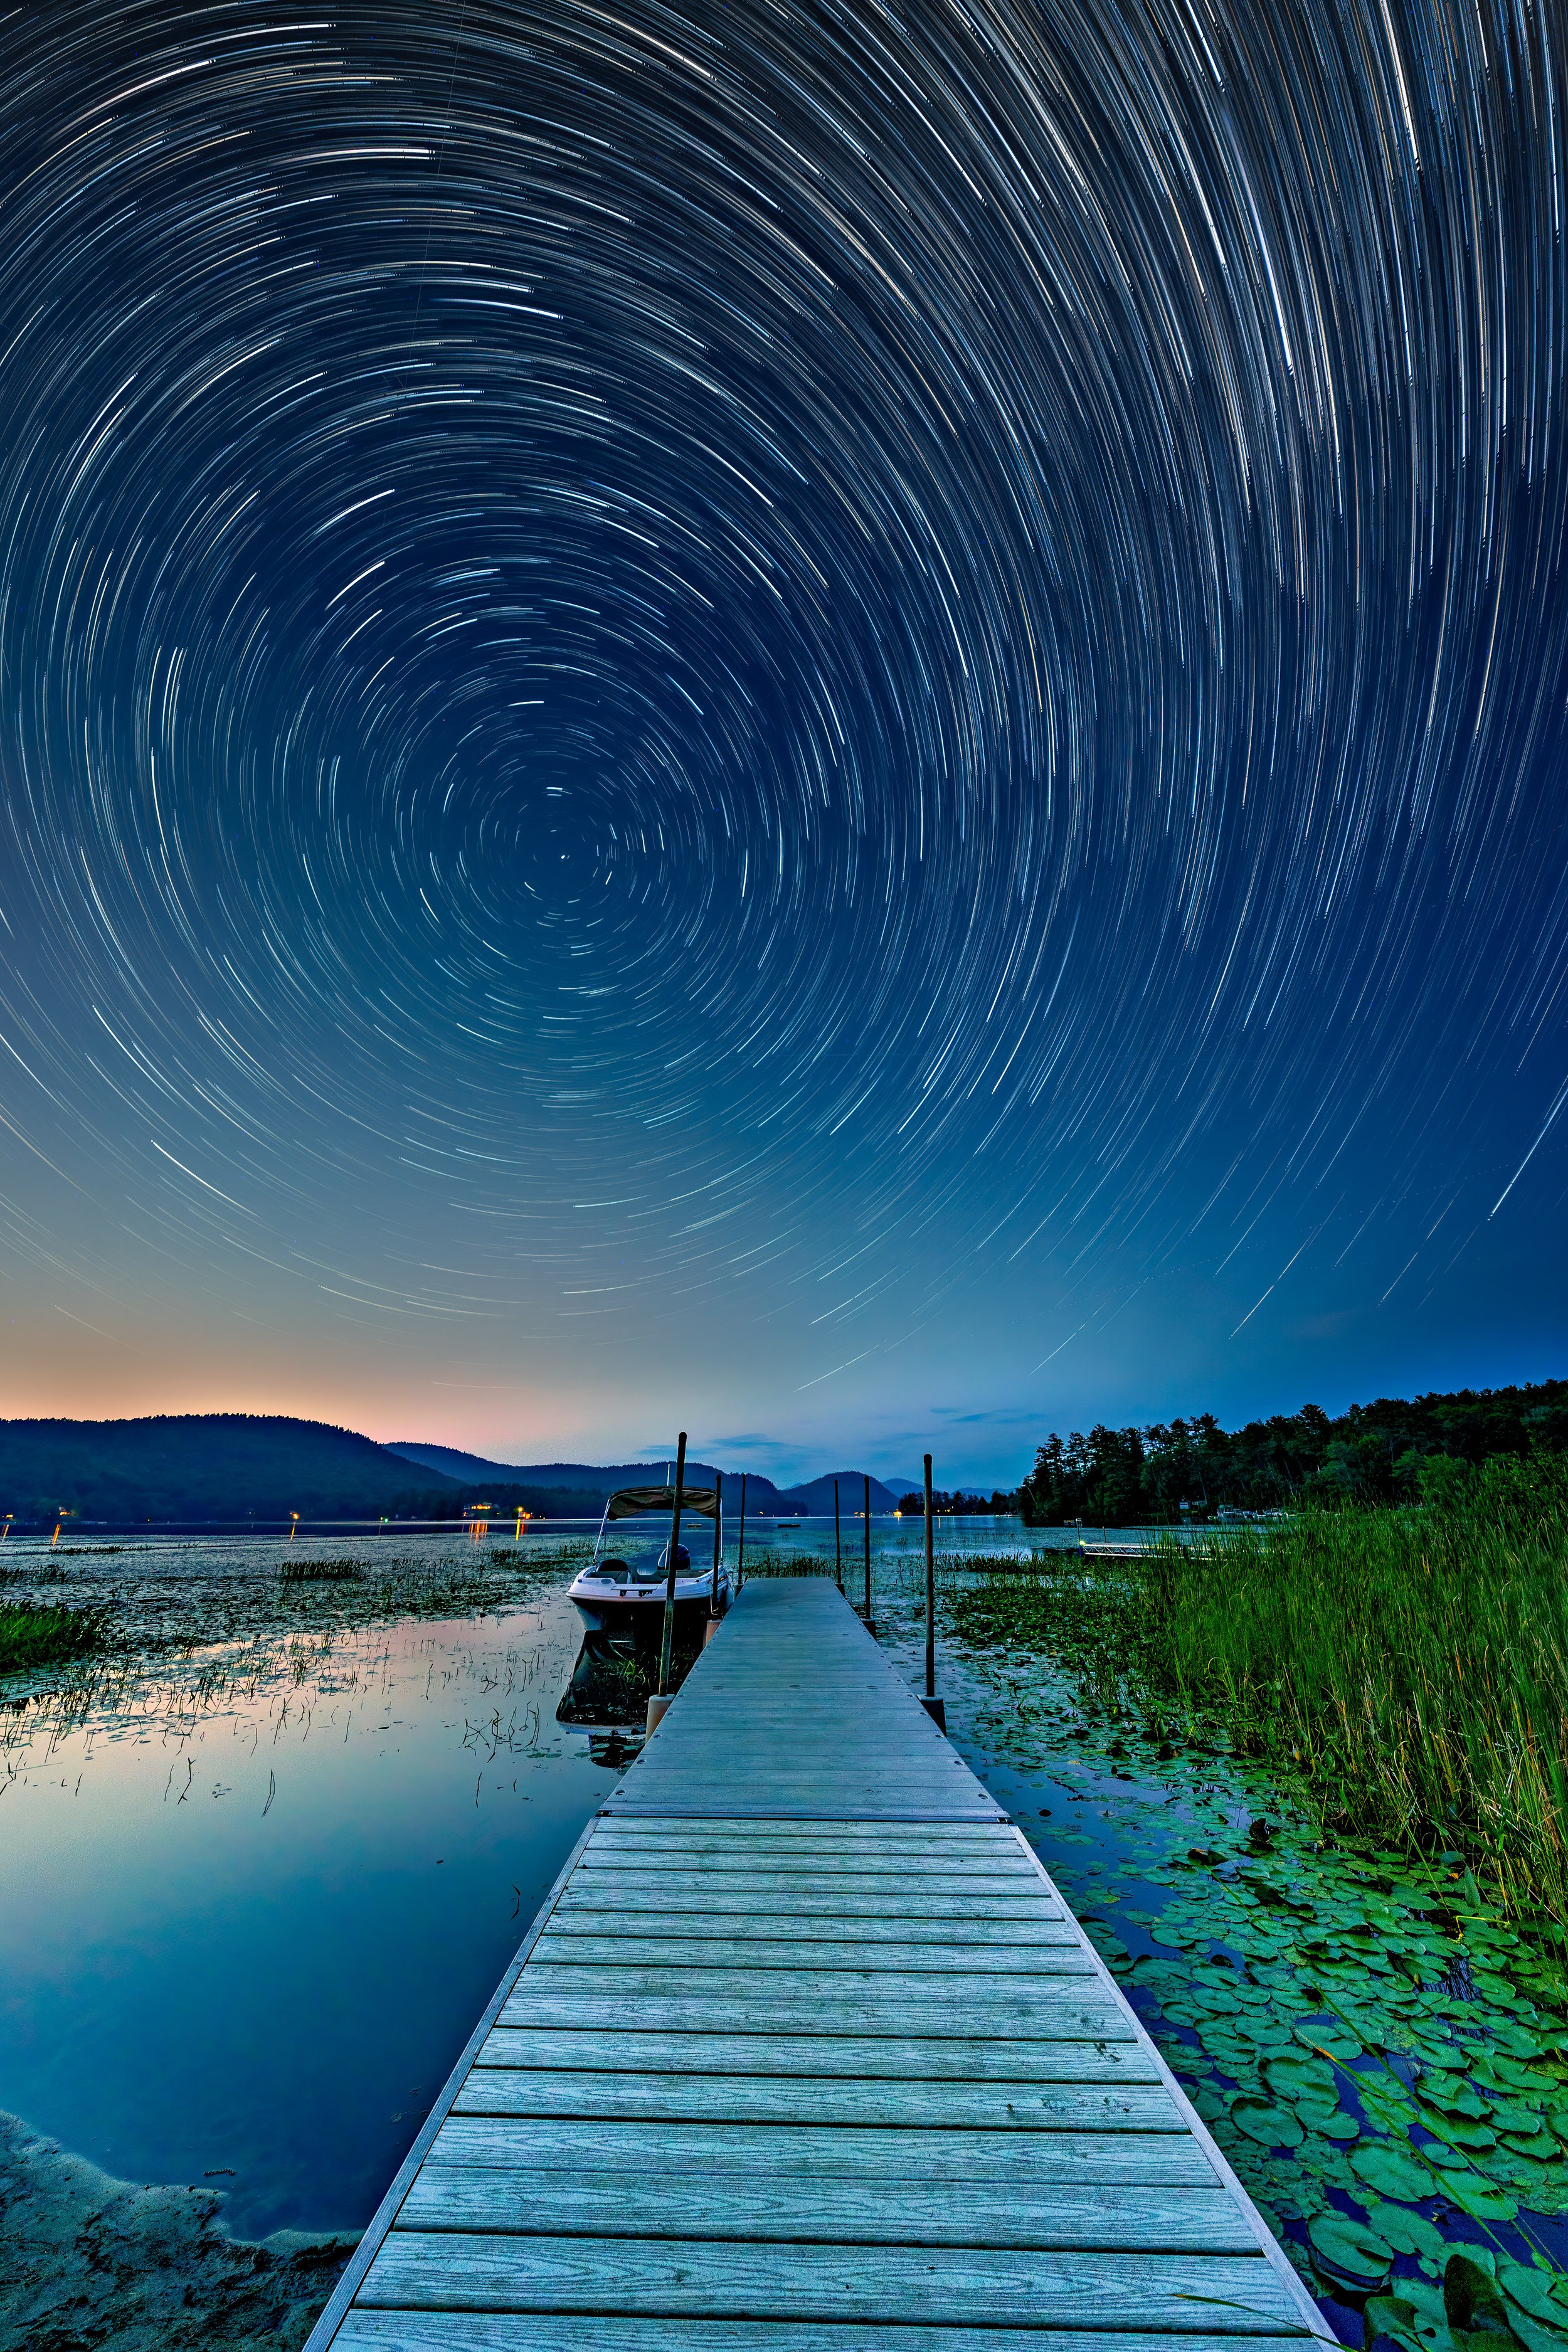
Star trails can be a fun addition to your astro/night photography repertoire. However, achieving a clean star trail image has its many challenges. After many trials and tribulations with experimenting with star trails this past summer I captured my favorite star trail image to date at Brant Lake in the Adirondack Mountains of New York. In this article I want to share with you how I created this image and some of the issues I have faced along the way.

Finding a Base Layer
First off I want to say this step is completely optional. You can wait till it is completely dark and the stars are already out to start your trail photos. However, if you want a cleaner, and in my opinion a better image, I highly encourage you to get out earlier and start around blue hour. Right after the sun is completely down. There are several benefits to doing this. First off, you can shoot at a lower ISO and higher f/stop giving you a much cleaner and sharper image for your foreground. As opposed to the star trail photos which were shot at f/2.8 and iso 2000 my base layer is shot at f/8 iso 500. Secondly, this blue hour image allowed me to mitigate some light pollution. Once it got dark a lot of lights came on in the distance that are not on in this blue hour image. This light pollution just makes for a messy final image.
iso 500 12mm f/8.0, 6.0 seconds
Creating the Star Trails
There are several different ways to create the actual star trails for your image. There are free programs that will do it for you. I choose to do it manually in photoshop and throughout this section I will explain why.
First we need to get our photos into photoshop. I choose to export my images from Lightroom as a jpeg first rather than using the RAW images. This just saves a lot of space and allows photoshop and my computer to run faster. I export the jpegs to a temporary folder on my desk top. To get them into photoshop I go to file, scripts, load files into stack. Choose the folder where you saved your jpegs, choose all of the photos and click ok. It is important to note I do not change the name of the files. They should be in order from when they were taken. If they are not in order it will mess up your star trails.
After doing this all of your files should open as layers in photoshop. To create the star trails we will use the “lighten” blend mode in photoshop. Select all of your layers and change the blend mode to “lighten”. This should immediately give you your star trails. Now we get into why I do this manually rather than have a program do it for me. If you look closely you can see that we have all sorts of issues with our star trails. We have streaks from airplanes, satellites and who knows what else going across our trails. To get rid of these is a meticulous process but it is well worth it for a clean final image. To get rid of these streaks you have to go through all of your layers 1 by 1 and paint out the streaks. I start with only my bottom layer turned on then turn on the next layer then the next layer and so on looking for any streaks to appear that are not part of the trails. Because we used the lighten blend mode we can use a black brush and paint out these streaks in each layer 1 by 1. Trust me, doing this is well worth the effort. You can see this in the before/after clean up images.


Putting it All Together
Now we need to get our clean star trial sky into our sharp foreground low noise blue hour image. We are basically just going to replace the sky of the blue hour image (our base layer) with the star trails. There are several ways you can do this. I choose to use a combination of the gradient tool and a soft brush with a low opacity on a layer mask to blend the sky in. And if you look at the images above, where we created our star trails, you can see how much light pollution we were able to get rid of by using a blue hour shot from a few hours earlier.
Now that we have everything blended together we can finish it off in what ever photo editor you choose. I used a combination of several applications: radiant image, adobe camera raw, and lightroom to bring everything together into the final image you see below.
Before Clean UP

After Clean Up


